



Why does the production date code keep rubbing off on flexible packaging—is it the film material or not enough reserved coding area?
Conclusion: Production date codes on flexible packaging often rub off or print over artwork; this is usually not a problem of a single film material or coding device, but is jointly determined by the coding method, film surface, background contrast and reserved layout space. Based on 2026 packaging project delivery experience, defining the codeable area at the design stage and then running test coding on the same batch of film can avoid one round of trial-run rework; however, for purely manual labeling, small-batch digital variable data, or mature templates that already have a separate coding window, it is not necessary to force a large blank area, but labeling positions and clearance still need to be reserved.
Why coding problems are often misdiagnosed as a film material issue
Production dates and batch numbers on packaging bags, labels and cartons are mostly applied on filling or packaging lines by inkjet, thermal transfer or laser equipment. When the equipment runs at high speed and bag surface tension changes, ink adhesion and character integrity are affected by film material, lamination, varnish and static. If the design artwork only considers a good-looking full-bleed layout, the downstream process has no stable landing position.
A common situation in projects is that the client has already fixed a full-bleed dark illustration and glossy film, leaves only about one week in the schedule, and the budget does not accept labeling the whole batch afterward; at this point the downstream process can only code directly over the artwork, and characters easily become blurry or rub off. In 2026, many flexible packaging projects still discover this problem only at the trial-run stage, so the judgment order should first return to layout structure and film combination, rather than changing equipment first.
- The coding area is not a downstream patch position but part of the layout structure; if it is not defined at the design stage, mass production can only code directly over the artwork.
- Blank space does not equal codeable space; what really determines readability is the combination of background contrast, film surface and coding method.
- The coding position also needs to avoid folds, seal edges and barcode quiet zones; otherwise equipment positioning and barcode scanning will both be affected.
Reserve space first or run test coding first? Check four conditions
Whether to reserve a codeable area cannot be decided only by the client saying that the downstream process will code; it should be judged by the actual machine-running conditions of the packaging. If any one of the following four conditions does not match, it is not recommended to print directly as a full-bleed layout.
- Coding method: Inkjet, thermal transfer and laser have different requirements for surface and contrast; inkjet is sensitive to varnish and lamination, and laser needs confirmation of whether it will damage or burn through the film.
- Film surface: Glossy film, matte film, aluminum foil, kraft paper and white card differ greatly in ink absorption and adhesion, so the same parameters cannot be applied to all.
- Background contrast: Dark background with light characters, light background with dark characters, gradient backgrounds and full-bleed artwork differ noticeably in code readability; by experience, light background with dark characters is more stable.
- Machine-running direction and position: The coding area needs to avoid folds, seal edges, barcode quiet zones and windows; the typical clearance range is from a few millimeters to more than ten millimeters, to be confirmed by test coding according to equipment and bag type.
If any one of the four conditions does not match, first make a test-coded sample on the same material and review character integrity, adhesion under rubbing and position deviation together; if the test sample does not pass, changing the layout is usually more controllable than changing the equipment. This is not about forcing all packaging into one template: cartons absorb ink quickly but may have fuzzy edges, while flexible packaging stretches and deforms easily, so the two materials need to be tested separately.
Reserved light-colored coding area, downstream labeling and laser coding: how do they compare?
There is more than one way to handle the coding landing position. At the design stage, there are three common routes: reserve a codeable area in the layout, add a pressure-sensitive date label downstream, or switch to laser coding. There is no universal answer among the three; they should be compared by batch size, film material and SKU count.
- Reserved light-colored coding area in the layout: The artwork change cost is low to medium, with an experience range of 1–3 working days; suitable for flexible packaging and cartons with larger batch sizes and inline coding. The trade-off is that it occupies layout space, and full-bleed designs need to give way and be re-arranged.
- Downstream pressure-sensitive date labeling: Adds a labeling step and per-label material cost, which becomes more obvious as batch size increases; suitable for small-batch or multi-SKU trial sales, with an experience range of 1–2 working days for sample confirmation. The risk is that labels may cover artwork and text, lift at the edges, or be considered untidy by the channel.
- Laser coding: Suitable for some cartons, labels and specific films; characters are not easy to rub off, but equipment compatibility and film tolerance need to be confirmed first, with a typical confirmation range of 1–2 weeks based on experience. It is not suitable for all flexible packaging, and incorrect parameters can damage the surface.
When comparing, do not ask only about unit price. Batch size, film material, whether lamination is used, machine-running speed and channel acceptance habits will all change the conclusion. Based on 2026 project delivery practice, first confirm readability and adhesion on a trial-run sample, then work backward to the reserved design dimensions; this is more reliable than fixing the layout first.
Delivery site: full-bleed dark illustration, one-week schedule, no whole-batch labeling
On a packaging project delivery site, we once encountered a tightly constrained combination: the back of the packaging bag had a full-bleed dark illustration, the filling plant gave only about a one-week trial-run window, and the client budget did not accept whole-batch labeling. The approach was to change the lower part of the back into a light-colored horizontal band, keep the coding area away from seal folds and barcode quiet zones, and first run test coding with the same batch of film; character height and clearance around all sides were set at a few millimeters to more than ten millimeters according to the equipment's typical range. The result was one fewer round of trial-run rework; the cost was that the illustration had to give way, the layout needed re-arrangement, and extra artwork revision time was spent earlier. Without this step, the common costs in mass production are line stoppage for adjustment, rework after characters are rubbed off, or whole-batch labeling.
Applicable and non-applicable boundaries
The cases suitable for reserving space in advance are fairly clear: the product needs inline coding on a filling or packaging line, the packaging is flexible packaging, labels or cartons, the batch size is relatively large, and the film has lamination, varnish or a dark full-bleed background. In daily chemicals, food outer packaging and some industrial product labels, a common practice is to treat the coding area as a fixed layout module.
The cases not suitable for forced reservation should also be stated clearly: if the product uses manual labeling, small-batch digital variable data, or a mature template that already has a separate coding window, forcing a large blank area may not be worthwhile. The boundary can be remembered as: whether to reserve a coding area depends on whether coding is inline and whether the film is stable, not on whether the design artwork looks good. If the downstream process confirms a switch to labeling, the design still needs to reserve labeling positions and clearance.
- Suitable: Flexible packaging and cartons with inline coding, relatively large batch sizes, and film with lamination or a dark full-bleed background.
- Not suitable: Purely manual labeling, small-batch digital variable data, and templates that already have a mature separate coding window.
What to check in the coding area before print release
Whether it passes does not depend on whether there is a white box on the design artwork, but on the test-coded sample and pre-press check. The coding area must land stably, have complete characters, withstand rubbing in terms of adhesion, and not cover key artwork, text or barcodes.
- Position: Avoid seal edges, folds and windows; leave a clearance of a few millimeters to more than ten millimeters from the edge based on experience.
- Size: Reserve according to character height, number of lines and equipment precision; leave extra margin around all sides, and do not apply one fixed value to all products.
- Contrast: Light background with dark characters is usually more stable; for dark background with light characters, first test white ink or a dedicated coding window.
- Adhesion: After test coding on the same batch of film, perform a hand-rub or tape test; if ink comes off, it cannot be considered a pass.
- Compatibility: The coding area should not compete for space with barcode quiet zones, ingredient lists, net content or other identification areas.
Based on 2026 packaging delivery practice, before final artwork approval, the coding area, barcode area and seal folds are put into the same pre-press checklist. If this step is skipped, the common costs in mass production are line stoppage for trial runs or whole-batch labeling.
Frequently asked questions
If the packaging bag is already laid out as full-bleed, can the production date coding still be solved by changing equipment?
Equipment adjustment range is limited; printing over artwork and poor adhesion often come from the combination of layout and film material. First run test coding on the same batch of film, then decide whether to change the layout or change the coding method.
For a white production date on a dark background, will a thicker white ink layer make it clear?
Not necessarily. White ink coverage and adhesion are affected by film material, varnish and curing; a thicker layer may become blurry or rub off. A more reliable approach is to run test coding first or reserve a light-colored coding window.
Will a white edge left for the coding area make the packaging look incomplete?
The reserved area can be made as a light-colored band, color block or information area, not necessarily pure white; the key is to avoid folds and seals and to design it together with the overall layout.
For small-batch trial sales, is it still necessary to reserve space for inline coding?
It depends on the actual filling method. If manual labeling or digital variable data is used, forcing a large blank area may not be worthwhile, but labeling positions and clearance still need to be reserved.
How can you tell whether the code will rub off?
Run test coding on the same batch of film, perform a hand-rub or tape test, and check character integrity and adhesion; then verify that it does not cover barcode quiet zones, seal edges or key artwork and text.
If you are working on 2026 packaging artwork, first confirm the coding method, film material and machine-running direction with the filling or packaging plant, then reserve a test-codeable area in the layout; for products with small batch sizes and manual labeling, write the labeling position and clearance into the delivery notes. The applicable boundary is: packaging that uses inline coding and stable film is worth reserving space for, while purely manual labeling or templates that already have a mature coding window do not need forced blank space.
-
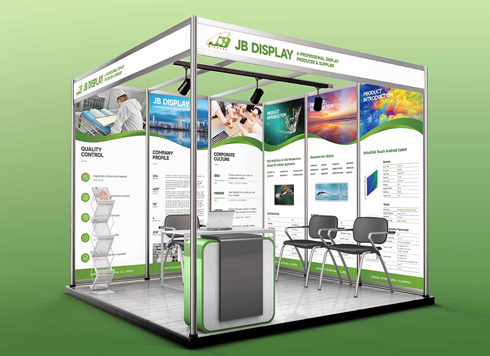 Booth Poster Design for Professional Monitor Product Suppliers
The standard exhibition booth poster projec ...
-
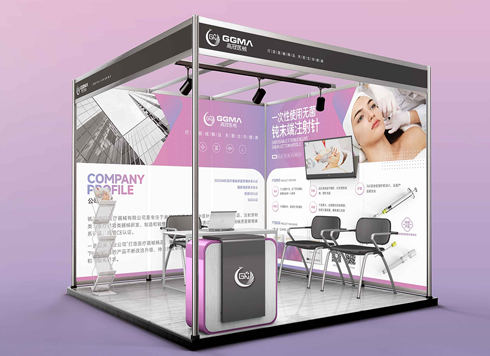 Design of Standard Exhibition Booth Posters for Beauty Instruments
Carefully designed a standard exhibition bo ...
-
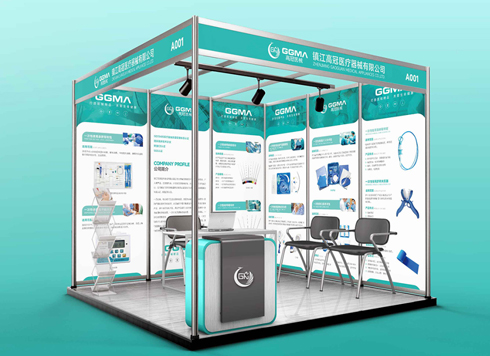 Design of Exhibition Posters for Medical Device Standards
XiYue is designing an exhibition booth post ...
-
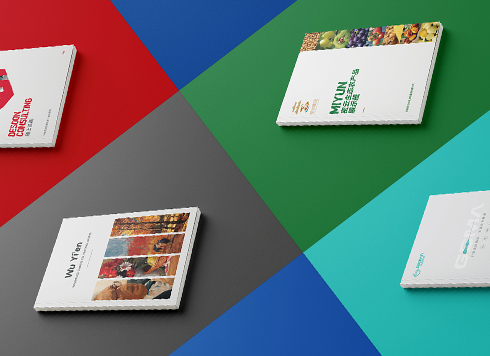 Collection of Brochure Design Cases in 2024 (Cover Series 02)
Our brochure design projects focus on diver ...
-
Black body text in a brochure shows a red fringe when zoomed in, while color photos on the same page look fine—is the black text set in four-color black or is the printer's registration off?
Date: Nov 2, 2026 Read: 1
-
When a client only needs a few price and size changes at project close but insists on layered PSD, is outlined AI plus a note enough?
Date: Nov 1, 2026 Read: 11
-
The client asked for linen paper's feel, but the full-bleed dark cover prints unevenly—what can we do besides switching paper?
Date: Oct 31, 2026 Read: 12
-
The same photo shows shadow detail on a phone but prints as solid black in a brochure: before sending to print, should you adjust the image first or ask the printer about total ink coverage?
Date: Oct 30, 2026 Read: 13
-
Matte-laminated sales cards won’t take ballpoint writing: change the film or leave the back blank when reprinting?
Date: Oct 29, 2026 Read: 18