



The product in a windowed box keeps leaning to one side: should you adjust the insert or move the window first?
Bottom line first: When a packaging box has a window and the product inside keeps leaning to one side, in most cases the insert alone is not what went wrong. Rather, the product’s placement inside the box was not first defined in a checkable positioning drawing, and the window position and the insert were handed to different parties, so the final match can only be judged by eye. Based on common delivery experience in 2026, first set the product positioning reference (a typical experience range of 1–2 mm for allowable offset), then set the window position and safety margins (typically 10–15 mm from the fold line and box edge), and finally check the patch overlap (typically 5–8 mm) and packing strength. If the order is reversed, revisions commonly increase by 2–3 rounds.
When the product leans in the window, first tell whether it is a window-position problem or an insert problem
A product leaning in a window usually has three sources: tolerance in the product itself, an insert slot that is too large, and a window position or printing that is offset relative to the insert. When all three are mixed together, changing only the insert often leaves the lean unchanged.
A practical way to judge: place several samples in a row and watch the direction of the lean. If it always leans to the same side, check the window position and printing registration first. If the direction is not consistent, check the insert slot width and product tolerance first. Repeatedly changing the insert when the direction is consistent is a common source of wasted rework in this type of project.
For a window, settle three things first before discussing whether the window shape looks good
A window is not just a hole cut in the box; it affects recognition, structure, and process at the same time. For recognition, the part visible through the window should let customers recognize the product at a glance; otherwise the window is only decoration. For structure, a window removes a load-bearing area, so the strength of 200–400 gsm white card will drop after windowing, and the number of stacking layers must be recalculated. For process, the patch film, overlap width, and die-cutting sequence need to be confirmed together with the box factory.
Applicable boundaries: The box style has structural margin, the run size is large enough to amortize the patch process, and the box factory has patch capability. If any one of these three is missing, reassess. For products that need light and moisture protection, have large batch-to-batch appearance differences, are in ultra-small trial runs, or are heavy goods packaging that will go through long-distance repeated transfers, forcing a window is usually not suitable; putting the budget back into printing and spot finishing is more reliable.
At delivery: a product positioning drawing is often more useful than a rendering
One project was stuck exactly on a product leaning in the window: the client provided only two casually taken phone photos of the actual product, dimensions were measured with a ruler, the box factory’s die-cut drawing was at another scale, and the insert factory cut slots according to its own habits. Our approach was not to draw the window first. We asked the client to confirm a product positioning reference drawing that marked the product’s placement in the box, the allowable offset, and the front area that must be visible. Then the box factory produced the die-cut drawing from it, and the insert factory cut slots from it. Spending one to two extra days on this drawing usually saves two or three rounds of rework later. Without it, the window may still be moving by the fifth revision, and the delivery schedule starts to tighten; this is one of the more direct costs in windowed projects.
Where costs and lead times differ between a windowed and non-windowed box
It is hard to judge windowing as a simple yes-or-no question; the four-column comparison below makes it clearer. The ranges below are based on common packaging delivery experience in 2026. They vary with run size, box style, and region, and are for judgment reference only, not a quotation.
- Cost: A window adds a die-cutting and patch process, and the unit price commonly rises by 10–20%; the smaller the run, the more noticeable the amortization. Without a window, putting the budget into printing or spot finishing is more controllable for small runs.
- Lead time: Patching is often semi-automatic or manual, and sampling and small-batch lead times commonly increase by 3–7 days. For urgent orders, ask the box factory about scheduling in advance, and do not schedule shelf dates backward using the lead time of a non-windowed box.
- Revisions: From first draft to final approval, windowed packaging commonly goes through 3–5 revision rounds, 1–2 more than a non-windowed box. The extra cycles are mostly window position adjustment, patch overlap, and insert alignment.
- Risk: New risk points with a window are window-corner collapse, patch fogging, and edge lifting; without a window, the main risks fall on printing color and process proof matching.
A practical judgment: if the product’s appearance under natural light is close to its photographed image and the shape is regular, the benefit of a window is clearer. If color varies between batches or the surface easily shows scratches or fingerprints, the window instead puts flaws in front.
Inspection starts with three checks: aligned, adhered, and not collapsing under pressure
- Aligned: After the product is placed, check whether the margin between the window edge and the product body is even. A typical acceptable deviation is in the 1–2 mm experience range; if it exceeds that, review the insert or window position.
- Adhered: Check the patch film surface for obvious bubbles, wrinkles, fingerprints, and fogging; check whether the overlap is fully bonded; and lightly push the window edge by hand—it should not lift.
- Not collapsing under pressure: After opening and closing the empty box several times, check whether the window corners crack. After loading the product, do a simple compression test to see whether the window area collapses first.
These three checks should first be verified on a white sample from a trial die-cut. Approving only from a digital proof is a common source of rework in windowed projects.
Common questions
For a windowed packaging box, how large should the window be?
There is no universal number. The criterion is that the part visible through the window lets customers recognize the product at a glance. A common approach is to first define the front area that must be visible, then leave a safety margin around it; the window area generally does not exceed one-third to one-half of the display face.
If the product in the window keeps leaning, should you change the insert first or move the window first?
First check whether the lean is always in the same direction. If the direction is consistent, it is more likely a window position or printing offset, so move the window first. If the direction is random, it is more likely insert slot width or product tolerance, so change the insert first. If neither side has a positioning drawing, make the drawing first before making changes.
After windowing, the box feels softer and stacking corners collapse—is the paper weight too low?
Not necessarily a paper-weight problem. Windowing removes load-bearing area, so paper of the same weight becomes weaker after windowing. A common approach is to confirm insert support or minor box-style adjustments with the box factory; simply increasing paper weight often does not solve window-corner collapse.
For a small run of only a few hundred units, is windowing still worth it?
Usually it is not very cost-effective. Patching is often semi-automatic or manual, so small runs have noticeable amortization and scheduling is harder. A common approach is to use a standard non-windowed box with stickers for the first batch to test the market, then move to a windowed version after sales stabilize.
If you are debating whether a box should have a window, start with one small step: put the actual product into a blank box, use a pen to draw the area that must be visible, and then measure the distance to the fold line. This hand-drawn sketch often explains the issue better than a rendering, and it can be taken directly to the box factory and insert factory for alignment. If the product’s appearance varies between batches or it needs light protection, do not get stuck on the window; put the budget back into printing and finishing. In our packaging delivery work, we also use this positioning drawing first to align the three parties before moving to visual drafts, which often reduces revision rounds.
-
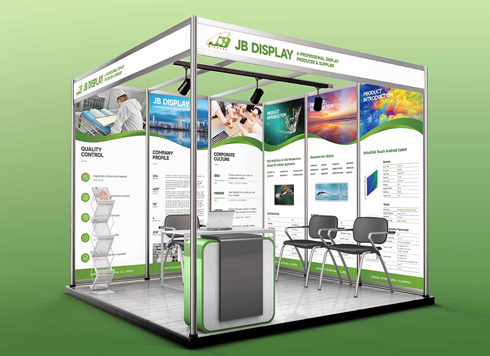 Booth Poster Design for Professional Monitor Product Suppliers
The standard exhibition booth poster projec ...
-
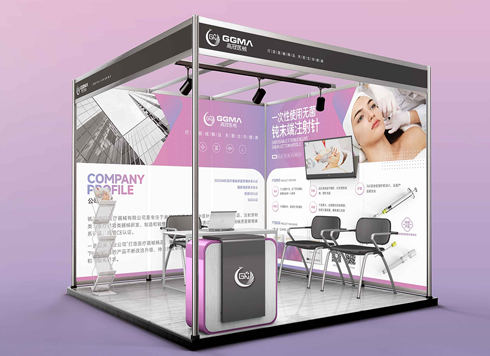 Design of Standard Exhibition Booth Posters for Beauty Instruments
Carefully designed a standard exhibition bo ...
-
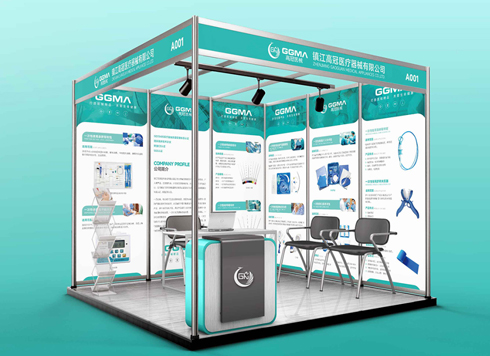 Design of Exhibition Posters for Medical Device Standards
XiYue is designing an exhibition booth post ...
-
 Collection of Brochure Design Cases in 2024 (Cover Series 02)
Our brochure design projects focus on diver ...
-
If the logo is finalized and I only received a PDF, and we need to switch printers for packaging next month, can I still ask for the source files now?
Date: Nov 2, 2026 Read: 1
-
Brochure laid out as A4 but finished size is large 16mo: scale the design down or ask the printer for a separate A4 sheet?
Date: Nov 1, 2026 Read: 7
-
Does the main packaging headline font need a separate commercial license—should the designer swap it out or should the brand buy it?
Date: Oct 31, 2026 Read: 11
-
If a storefront poster headline looks gray from two meters away in daytime backlight, should I enlarge the text or change the background color?
Date: Oct 30, 2026 Read: 8
-
A thin booklet starts every chapter on a right-hand page and adds 10+ blank pages—should you change the binding first or the chapter-start rule first?
Date: Oct 29, 2026 Read: 16