



The PDF sent to the printer is only a few dozen MB, but the printer says the images look a bit blurry—is the image compression too aggressive?
Conclusion: If the printer says the images look a bit blurry, do not rush to turn off image compression, and do not rush to push the quality setting to the maximum. Based on common 2026 prepress practice, the judgment criterion is how many effective pixels each image has left at final output size: paper printing only needs a full 300 ppi, while large-format inkjet commonly follows an experience range of 100–150 ppi depending on viewing distance. Below that lower limit, turning compression off will not save it; above that lower limit, leaving compression on will not hurt the finished product. What should really not be let through is unembedded fonts, unflattened transparency, and spot colors quietly converted to CMYK.
What exactly is that setting in the export panel compressing?
That item usually involves two actions: first, downsampling, which resamples images above the set ppi to a smaller pixel count based on their placed size on the page; second, re-encoding, which recompresses the image as JPEG at a specified quality level. Many people assume compression means “making the image smaller and blurrier,” but downsampling is calculated by the image's final placed size on the page, not by the original image's pixel count.
A common example: a photographer's straight-out-of-camera photo is 6000 px wide and is placed into a 90 mm-wide image frame in a brochure. At 300 ppi, that frame only needs about 1063 px wide to print. If downsampling is set at 300 ppi, the exported file size can drop substantially without losing detail in the finished product. Conversely, an 800 px-wide screenshot placed across a full spread cannot be saved by any export setting—the problem is at the asset stage, not in the export settings.
- Downsampling threshold: for paper printing, commonly no lower than 300 ppi, calculated at the actual placed size in the final product.
- JPEG quality level: choose a high-quality level, especially for brochures containing small text, solid monochrome areas, and fine-line icons; leave more headroom.
- Repeated Save As: every round of revisions followed by another PDF Save As may compress the file again, and after multiple generations blocky noise can appear.
- Vector elements: text, logos, and lines are not affected by image compression, but they are affected by font embedding status and stroke settings.
When a PDF of only a few dozen MB comes back as blurry, these are the usual causes
In real projects, the problem is usually not the on/off action itself, but two extremes. On one side, someone hears that “you need to turn off compression for the printer,” so they turn everything off; a 32-page brochure PDF commonly reaches several hundred MB or even over 1 GB, cannot be sent by email, and cannot be uploaded to cloud storage—right when the schedule is tight, transmission becomes the bottleneck.
On the other side, export settings were not checked: downsampling is left at 150 ppi, JPEG is left at a medium level, and small-text screenshots, fine-line icons, and gradient backgrounds in the body text are the first to show problems—soft edges and banding in gradients. There is an even more hidden case: the same file has gone through several rounds of revisions, and each round was saved as a new PDF; several generations of compression stack up, blocky noise appears in images, and it looks as if the printer printed it blurry, when in fact the file has degraded on its own.
This trade-off also shows up in delivery scenarios: the client gives only three days, the assets are high-pixel TIFFs straight from the photographer, and to be safe all compression is turned off; the exported PDF exceeds 1 GB, the printer's receiving channel cannot accept it, and the team switches to delivering a portable hard drive at the last minute, wasting a full day of schedule. Another brochure from the same batch is exported with 300 ppi downsampling, the file falls into the typical range of a few dozen MB, receiving and imposition checks are completed the same day, and no difference is visible at normal reading distance in the finished product. What is saved is not money, but the time of not having to redo and resend—but the premise is that the brochure's assets themselves have enough pixels; if the original images are only a few hundred px, compression or no compression, they will still be blurry.
Check these in this order before sending to print
Rather than agonizing over the switch, check five things in order. The reason for this order is: the first four determine “whether it will go wrong when printed,” and the fifth determines “whether the printer can fix it for you.” These are different risk levels and should not be mixed into one judgment.
- Check effective pixels: calculate ppi from each image's final placed size on the page; paper products should be no lower than 300, and large-format work should fall within the 100–150 experience range depending on viewing distance. If it falls short, go back to the asset stage and replace the image first.
- Check the downsampling threshold: set “do not downsample below this value” near 300 ppi; images above it can be downsampled so the file size naturally comes down.
- Check the JPEG quality level: choose a high-quality level; for brochures with small text and solid monochrome areas, a somewhat larger file is preferable.
- Check fonts and spot colors: confirm that all fonts are embedded or converted to outlines, and that spot colors remain spot colors after export and have not been converted to CMYK approximations.
- Check whether a packaged source file should be attached separately: if further revisions are likely, or the printer needs to do its own imposition, attach a separate package with linked images and fonts.
What counts as acceptable: zoom the exported PDF to 200%–300%; small text and fine lines should not look fuzzy, and large gradients should show no obvious banding. Then run it through a preflight profile or the printer's acceptance checklist to confirm there are no leftover RGB images and no missing fonts, and it can be sent. If it does not meet this, fix the file first; do not treat “asking the printer to fix it” as standard practice.
File size and applicable differences among three delivery methods
These three are not a hierarchy of better or worse; they correspond to different delivery relationships. The first criterion is whether the other side can accept it and whether the layout still needs to be changed: if they only print and will not revise the layout, use a more standardized PDF; if the layout still needs changes, imposition, or image replacement, a packaged source file is more reliable.
- PDF/X-type prepress exchange formats: stricter requirements for font embedding, color space, and transparency flattening; suitable for brochures, single sheets, and packaging for conventional offset and digital printing; the typical range is mostly from a few dozen MB to around 200 MB, varying with the number of images and final page count.
- Ordinary high-quality PDF: looser settings and easier to transmit; suitable for internal review, screen presentation, and short-run digital quick printing; the risk is unembedded fonts and leftover RGB images, which require extra checking on your side.
- Packaged source files (with linked images and fonts): suitable for projects that will still be revised or where the printer needs to do its own imposition; the typical range is from several hundred MB to 2 GB, with higher transmission cost, but changeability and responsibility boundaries are clearer.
The difference in cost and turnaround also lies here: a standardized PDF usually does not add extra design hours; what it adds is checking time before export. A packaged source file adds time for organizing linked images, checking font licensing, and waiting for transmission. Based on 2026 project delivery habits, sending both together is common practice—the PDF goes to print, while the source file stays on file so revisions do not have to start from zero.
Applicable boundaries: what should be checked this way, and what does not need it
Suitable for this approach: paper-based materials that will go on a printing press, including brochures, single sheets, folded leaflets, packaging, and business cards; projects with mixed image sources, including both original photography and screenshots; and commercial materials with basic requirements for color and detail.
Not worth over-applying: files only for screen display or internal review, proposals still undergoing repeated revision, and printers that only accept source files and do their own imposition. Forcing standardized formats onto these categories only adds back-and-forth. One boundary sentence to remember: when the file still needs to be changed by someone else, sending a package with fonts and linked images is more reliable than sending even the most standardized PDF.
- Pitfall 1: using a web screenshot as an illustration; enlarged to final size it will inevitably be blurry—this is an asset problem, unrelated to compression.
- Pitfall 2: converting to outlines without checking; individual characters may be replaced with wrong glyphs, and this is hard to spot before printing.
- Pitfall 3: spot colors are converted to CMYK during export, so the brand color does not match between two batches.
- Pitfall 4: file names without version numbers and dates, so the two sides cannot tell which version is which, and revision work is wasted.
Common questions
If I turn off image compression completely, will it print more clearly?
No. Pixels beyond the ppi needed for final output do not contribute extra benefit to printing; they only make the file larger and slow down transmission. Whether it is clear depends on whether the asset has enough pixels—300 ppi—at final size.
If the PDF is only a few dozen MB, will the printer think the file is too small to accept?
The file size itself is not the criterion. A few dozen MB is a typical range for text-heavy single sheets and folded leaflets or jobs with few images; what the printer actually looks at is effective image pixels, font embedding, and whether spot colors are retained.
If the file is too large to send, can I just set JPEG quality to medium?
Not recommended for body text, small type, and fine-line images. A more reliable approach is to first downsample to 300 ppi, keep a high-quality level, and deliver the source file separately via cloud storage or physical media.
Does large-format inkjet also need to be exported at 300 ppi?
Not necessarily. Depending on viewing distance, large-format work commonly needs only the 100–150 ppi experience range; hoardings viewed from several meters away and brochures held in hand are different by nature.
Before the next print delivery, first check the effective ppi of every image at final size, then go item by item through the downsampling threshold, JPEG quality level, font embedding, and spot color retention, and finally decide whether to attach a packaged source file separately. This approach applies to projects whose end point is paper printing; files delivered only for screen or still in the revision stage do not need to follow it. Xiyue Company also checks in this order in project delivery, and what is mainly saved is the time for revisions, resending, and physical delivery.
-
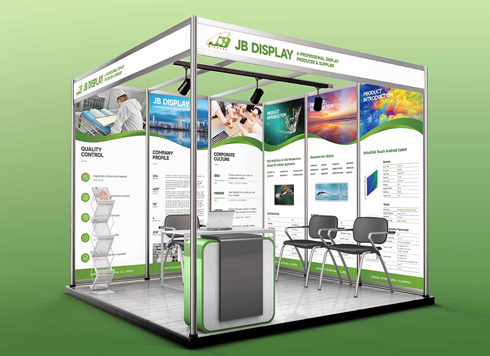 Booth Poster Design for Professional Monitor Product Suppliers
The standard exhibition booth poster projec ...
-
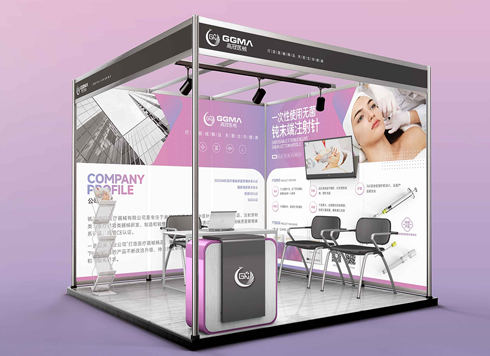 Design of Standard Exhibition Booth Posters for Beauty Instruments
Carefully designed a standard exhibition bo ...
-
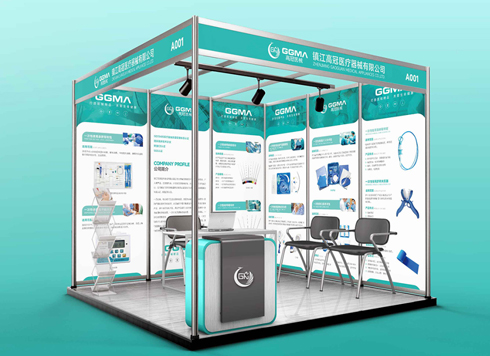 Design of Exhibition Posters for Medical Device Standards
XiYue is designing an exhibition booth post ...
-
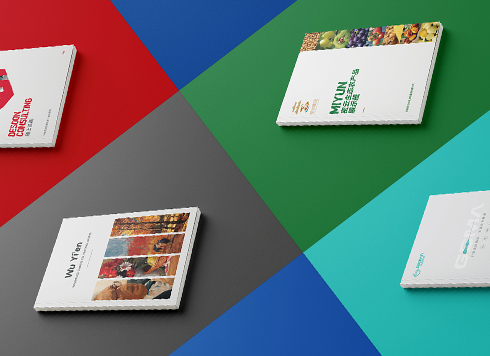 Collection of Brochure Design Cases in 2024 (Cover Series 02)
Our brochure design projects focus on diver ...
-
Where does a semi-transparent white overlay on a cover photo fail first if it is not flattened before printing?
Date: Oct 18, 2026 Read: 33
-
Black body text in a brochure shows a red fringe when zoomed in, while color photos on the same page look fine—is the black text set in four-color black or is the printer's registration off?
Date: Nov 2, 2026 Read: 1
-
When a client only needs a few price and size changes at project close but insists on layered PSD, is outlined AI plus a note enough?
Date: Nov 1, 2026 Read: 12
-
The client asked for linen paper's feel, but the full-bleed dark cover prints unevenly—what can we do besides switching paper?
Date: Oct 31, 2026 Read: 12
-
The same photo shows shadow detail on a phone but prints as solid black in a brochure: before sending to print, should you adjust the image first or ask the printer about total ink coverage?
Date: Oct 30, 2026 Read: 14