



The brochure cover was matte laminated and the client says the brand blue looks gray—before reprinting, should we change the film or revise the file?
After a brochure cover is matte laminated, the brand blue looks as if a layer of gray has been cast over it, and the client asks for a reprint. Usually this should not first be attributed to the printer laying down too much ink or to the wrong film being purchased. Gloss film raises surface gloss and color saturation; matte film reduces reflection and makes dark colors prone to looking gray; the adhesive layer and paper absorption also make ink colors appear deeper. Based on 2026 project delivery practice, color confirmation should rely on a finished laminated sample or a same-process color proof. Comparing directly against an unlaminated proof often makes responsibility hard to pin down at acceptance. If the cover has dark full-bleed areas, spot colors or spot lamination, the film type, lamination area and confirmation checkpoint should also be written into the proofing order in advance.
Why color changes after lamination—it is not just that the film becomes glossier
Lamination means bonding a plastic film to the surface of a printed piece; gloss film and matte film are common. Gloss film increases gloss, making colors look more saturated, dark areas blacker and white text more prominent; matte film reduces reflection, makes light colors softer, but dark colors easily look gray and the sharpness of small text edges may also decrease. The degree of change depends on the film material, adhesive layer, paper ink absorption and ink density; it cannot be understood simply as “adding a layer of transparent film.”
For the same cover, dark blue will look deeper after gloss lamination and the overall effect will be softer after matte lamination. This is a directional difference, not the printer changing the ink at the last minute. Dark full-bleed covers, four-color overprints and spot-color covers are more sensitive; light-colored, low-coverage covers are relatively less affected. If the cover also involves foil stamping, UV or embossing, different lamination sequences will change the combined result of color and gloss.
- Gloss film: increases gloss and saturation, makes dark colors deeper, suitable for brochures whose covers should look brighter and stand out.
- Matte film: reduces reflection and gives a softer feel, makes light colors more stable; for dark colors and fine text, leave more room for visual inspection.
- Dark full-bleed: the difference before and after lamination is easier to catch with the naked eye; keep a separate sample.
- Spot lamination: unlaminated and laminated areas create a gloss difference, which is more obvious on dark gradients.
So when judging “the color has become darker” or “the brand blue looks gray,” do not rush to ask the printer to add ink or change the film. Adding ink may make dark areas muddy, while changing the film may make light areas too bright; confirm the film type, lamination area and proof checkpoint first, then decide whether to adjust.
Which checkpoint should color confirmation use: before lamination, after lamination or a same-process proof?
There are three common bases for color confirmation on printed materials: an unlaminated digital proof, a traditional proof, and a same-process proof after lamination. They are not interchangeable. An unlaminated proof shows layout and text but not post-lamination gloss and saturation; a post-lamination proof is closer to the finished product, but lead time and cost increase. As an experience range, adding one spot-laminated proof for an ordinary brochure cover commonly adds 1–3 working days to the schedule; the cost varies with film type, quantity and whether spot lamination is used, and a single fixed price should not be applied to every job.
If a color-sensitive cover is signed off only against an unlaminated proof and a light/dark dispute arises after lamination, responsibility is hard to push one-sidedly onto the printer, because the confirmation basis itself lacks one process step. A more stable approach is to write “match color after lamination” on the proofing order and keep a film sample from the same batch; if the schedule is tight, at least make an A4 spot-laminated proof covering the dark and brand-color areas.
- Option A: Confirm only against an unlaminated digital proof. Short lead time and low cost, suitable for light-colored inner pages or materials with loose color requirements; the risk is that light/dark disputes after lamination cannot be clearly explained.
- Option B: Confirm against a same-process laminated proof. Closer to the finished product, suitable for dark full-bleed covers, spot-color covers and brochures with strict brand colors; the trade-off is waiting about 1–3 working days, with cost varying by film type.
- Compromise: a spot-laminated proof plus written confirmation, covering key color patches, balancing schedule and risk.
The key here is that the confirmation basis must match the final process, rather than comparing “which type of proof is more advanced.” Matching color against a matte-film proof when the final product will use gloss film, or matching against a phone screenshot, will turn a simple issue into rework.
At delivery, how can lamination color-difference disputes be reduced?
Color disputes are often not a single-point mistake but a failure to lock down three things: film type, confirmation checkpoint and viewing light. Checking against the following three steps can turn “it looks wrong” into traceable items, rather than arguing by feel at acceptance.
- First define film type and gloss. Write gloss film, matte film or spot lamination clearly on the job order and proofing order; do not just write “lamination.” Once the film type changes, both color and feel change.
- Then define the proof checkpoint. Color-sensitive covers should require color matching after lamination; ordinary inner pages can accept an unlaminated proof. The confirmation proof must use the same paper, same film and same ink; leftover samples from another job cannot be used instead.
- Finally define acceptance lighting and comparison target. Compare against the finished sample under natural diffused light or a standard light source, avoiding booth spotlights, phone screens and warm office light; for spot lamination, check the transition between laminated and unlaminated areas at the same time.
A common constraint at delivery is that the budget covers only one proof, the schedule has only two or three days left, and the artwork contains many brand colors. The approach is to make an A4 spot-laminated proof directly, put dark patches, white text and brand colors on the same sheet, match color after lamination and confirm in writing; the trade-off is waiting about 1–2 days, and the result usually reduces rework across the whole batch of covers. This extra waiting time is a typical range, not a fixed promise; actual timing also depends on the film supplier’s job queue and the lamination method.
- Common pitfall 1: matching color against a phone screen or office ceiling light; gloss film reflection can directly make dark colors look like a solid black patch.
- Common pitfall 2: making only a full-sheet unlaminated proof; the boundary and gloss difference of spot lamination are exposed only in the finished product.
- Common pitfall 3: mixing films from different batches; when the same cover version is reprinted, color and gloss do not match.
It is acceptable when “the job order specifies the film type, confirmation uses a same-process proof, and acceptance uses fixed lighting.” This sequence cannot be reversed: looking at color first and asking about film type later easily misjudges a process difference as printer error; setting lighting first and the proof later can also make the same cover lead to two conclusions in different locations.
Applicable scenarios and boundaries: which covers are worth waiting for a laminated proof, and which are not
Those suitable for waiting for a post-lamination proof are usually brochure covers, packaging boxes and cards with dark full-bleed areas, strict brand colors, spot colors or large solid tint areas. Once this type of material becomes too dark or too gray after lamination, the visual difference across the whole batch is obvious, and rework cost is higher than one spot proof. Based on project delivery practice, color-sensitive covers first get an A4 spot-laminated proof, with dark patches, white text and brand colors checked on the same sheet before the batch is signed off.
If the cover is mainly light-colored text, has no large dark areas or spot colors, and the inner pages are not laminated, the benefit of waiting separately for a post-lamination proof is limited; confirming against an ordinary digital proof saves schedule. Short-run digital printing, rush trade-show jobs and internal materials with loose color requirements often do not need to hold for an extra day for a laminated proof. The boundary can be summarized in one sentence: Whether a laminated proof is worth waiting for depends on the cover’s color tolerance and rework cost, not on how strict the client’s requirements are.
- Suitable: dark full-bleed covers, spot-color brand colors, spot lamination, brochures and packaging boxes.
- Not necessary: light-colored inner pages, unlaminated single sheets, trade-show materials with a very tight schedule and high color tolerance.
- Common constraints at delivery: budget covers only one proof, only two or three days remain, and the artwork contains many brand colors; the approach is to make a spot-laminated proof first and confirm in writing; the trade-off is waiting about 1–2 days, and the result usually reduces rework across the whole batch of covers.
Gloss film and matte film also differ in confirmation criteria: gloss film focuses more on reflection and saturation; matte film focuses more on whether dark colors look gray and whether fine text remains clear. Do not use a gloss-film proof to sign off a matte-film job, and vice versa. If the client only asks “change the film first or revise the file first,” the more stable order is to check the film type and confirmation proof first, then decide whether to change the film, adjust the artwork or accept the current appearance.
FAQ
After gloss lamination, the color becomes darker—did the printer lay down too much ink?
Most often not. Gloss film increases gloss and saturation, making dark colors appear deeper; first check whether confirmation was based on a post-lamination proof, then check the film batch and ink density.
If only the title is spot laminated, will there be an obvious boundary?
Yes. The edge of spot lamination may create a gloss difference and slight color difference, more obvious on dark gradients; when preparing the artwork, place the laminated area along straight boundaries or in white space where possible.
Matte film makes colors look gray—can this be compensated by adding ink before printing?
Adding ink alone is not recommended. Matte film reduces reflection, and adding ink may make dark areas muddy; a more stable approach is to confirm the film type first, then switch to gloss film or adjust design lightness if necessary.
How long does color take to stabilize after lamination, and can acceptance happen immediately?
A common practice is to let the laminated sheets rest for a period before color matching so the adhesive layer and paper stress can stabilize; specifics depend on film material, temperature and humidity. The experience range is a few hours to one day; for rush jobs, at least wait for cooling and stabilization.
If the client only approved an electronic file and there is no laminated proof, how should responsibility be divided?
An electronic file cannot replace physical confirmation after lamination. State the confirmation basis and film type clearly in the approval form; if a dispute arises, check against the same-process proof and the acceptance checklist.
Next, write three things into the job order and proofing order first: whether the cover is laminated, which film is used, and at which checkpoint color is confirmed. For color-sensitive dark full-bleed or spot-color covers, keep an A4 spot-laminated proof before signing off the batch. If the inner pages are not laminated, the cover is mainly light-colored and the schedule is very tight, there is no need to wait an extra day for a laminated proof; confirm against an ordinary digital proof and keep a written record.
-
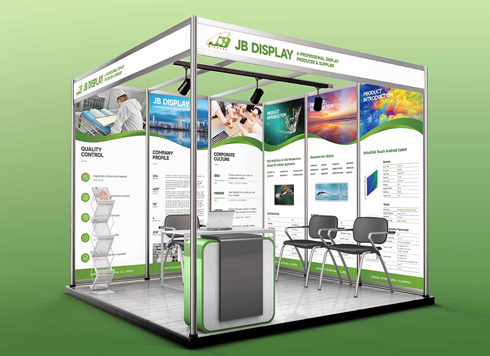 Booth Poster Design for Professional Monitor Product Suppliers
The standard exhibition booth poster projec ...
-
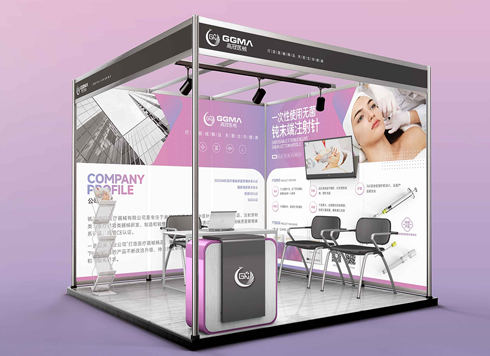 Design of Standard Exhibition Booth Posters for Beauty Instruments
Carefully designed a standard exhibition bo ...
-
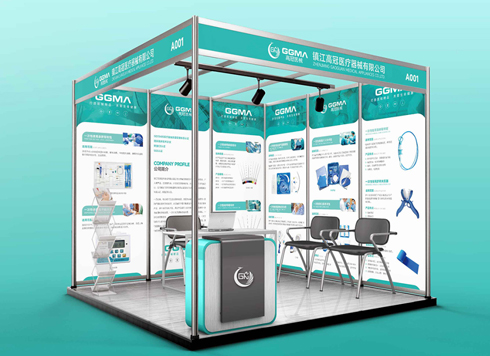 Design of Exhibition Posters for Medical Device Standards
XiYue is designing an exhibition booth post ...
-
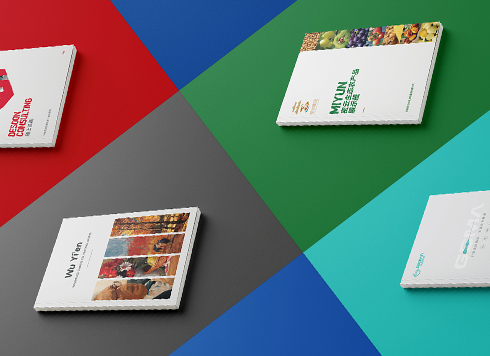 Collection of Brochure Design Cases in 2024 (Cover Series 02)
Our brochure design projects focus on diver ...
-
When a sample is shipped to another city and the client only signs back “OK,” who is to blame if mass production shifts color? Were the reference and tolerance missing from the approval form from the start?
Date: Nov 22, 2026 Read: 3
-
When text at both ends of a banner is pinched by rope, is moving the text inward enough—and should hole positions and hanging method be marked together?
Date: Nov 21, 2026 Read: 5
-
When the company name on a booth fascia can’t be read across the aisle, can checking letter height and stroke weight against the far viewing distance before artwork start save a reprint?
Date: Nov 20, 2026 Read: 11
-
The address along the bottom of a roll-up banner keeps getting covered by the base—can leaving a keep-out zone from the supplier die line before artwork save a site rework?
Date: Nov 19, 2026 Read: 13
-
The booth spotlight hits the center of the display panel, and customers at the meeting table say it is a washed-out white blur—is it material glare or a light mounted too low?
Date: Nov 18, 2026 Read: 18