



Why does a glued packaging box side flap open by itself after two days—too narrow a glue flap or full lamination that the adhesive cannot grip?
Based on packaging project delivery experience in 2026, when a packaging box has been glued and left for two days and the side glue flap opens by itself, the main cause is usually not one factor selected from a narrow glue flap or full lamination. It is usually three things being out of alignment at the same time: effective glue-flap width, whether graphics are placed in the glue-flap area, and whether the adhesive is bonding to paper or film. For the check order, first measure the net glue-flap width on the die-cut drawing (the typical experience range for folding cartons is 10–15 mm, small boxes tend toward 8–12 mm, and corrugated boxes are often 20–30 mm), then check whether a blank band is left inside the glue-flap line, and finally confirm which adhesive the folder-gluer uses and whether the bond is actually to paper or film. If any one of the three fails, the formed box is likely to spring back or pull apart.
The glue flap is a structural dimension, not the leftover space after the layout is set
The glue flap (also called the glue edge or side flap) is the strip at the outer edge of the box blank layout where the folder-gluer applies adhesive and which overlaps the inside of the opposite end. It does not contribute to the finished appearance, but it directly determines whether the box stands up and whether it opens at the side when filled. On the flat layout, it belongs to the structural area, not the graphic area: its width is set by the box style and paper thickness, and placing graphics comes later.
The most common misjudgment is to treat the glue flap as extra paper, run the side graphics all the way to the glue-flap line, and extend the brand background color over it. After folder gluing, the overlapping section shows an extra patch of color and looks like a misprint from the side; more troublesome, when the whole blank is fully laminated, the adhesive bonds to the film rather than the paper, and however large the contact area is, it cannot hold.
- The glue-flap area usually needs to be left blank: no graphics, no brand background color, and no spot UV or foil stamping;
- Width is set by box style and paper thickness; the typical experience range for folding cartons is 10–15 mm, and corrugated boxes are clearly wider;
- Mark the glue-flap line and crease lines separately on the flat layout; do not send the die layout with only the finished outer frame drawn.
Spring-back right after forming and pull-off after loading should be viewed separately
Poor adhesion shows up in at least two ways. Discussing them together often leads to repeated file changes without solving the problem. One is that the side opens by itself during forming after gluing; it can be pressed closed but springs back when released. This is a structural issue, usually because the effective glue-flap width is insufficient, the crease line position is off, or the glue flap falls on the rounded box corner and is encroached upon. The other is that the flap has bonded, but tears open under load during box packing, stacking, or handling; this is more often related to surface treatment, adhesive type, and workshop temperature and humidity. First classify the symptom into one of these two categories, then decide whether to change the file or the process.
In 2026 we followed a batch of gift boxes with fairly typical constraints: the customer required matte lamination over the entire blank for a uniform appearance, no blank band on the glue flap, a run of about 3,000 boxes, and automatic folder gluing with water-based adhesive. We did not rush to a conclusion. We first had the folder-gluer make 20 sample boxes, left them for 48 hours, then filled them, stacked them three layers high, and pressed them overnight. The result was that about 30% opened at the side within two days; when torn open, the adhesive layer remained as a whole sheet on the film. We later changed to reserving a lamination-free zone on the glue flap, leaving a width within the experience range of 8–12 mm, and adding a local mechanical roughening step; only then did it become stable. The cost was re-gluing plus manual sorting, a lead time pushed back by 2–4 days, and extra rework labor hours—far more expensive than clarifying these three figures before cutting the die.
Four glue-flap checks: from the hardest to change to the easiest
The order is width, graphics, surface treatment, and box style. The reason is direct: if an earlier item fails, later adjustments can barely rescue it. Changing width once means changing the die layout and making new proofs; graphics and surface treatment are at the file level and are much cheaper to change. Starting with the hardest item to change can save a round of rework.
- Check width: measure the net glue-flap width against the die layout, and note that the part taken up by rounded box corners and creases does not count as effective bonding area.
- Check graphics: see whether a blank band is left inside the glue-flap line, and whether dark solid areas, barcodes, or ingredient text run into the overlap area. Dark surfaces in the overlap area are easily scuffed after folder gluing.
- Check surface treatment: whether the coverage of lamination, UV coating, or foil stamping includes the glue flap; if it does, first ask the folder-gluer which adhesive it uses, then decide whether to reserve a lamination-free zone or do mechanical roughening.
- Check box style and paper thickness: the larger the box and the thicker the paper, the larger the effective bonding area needed; for corrugated boxes, also check the flute direction—when the glue flap is parallel to the flute direction, the bonding surface is more reliable.
After these four checks, you can usually identify one or two main causes. If all four pass and the flap still opens, then it is worth suspecting the adhesive type, workshop temperature and humidity, or folder-gluer pressure; at that point, a more reliable approach is to have the printer or folder-gluer produce a few physical test samples rather than continuing to add changes to the file.
Matching lamination with folder-gluing methods: which pairing fits, and where the cost falls
Not every box is worth paying an adhesion penalty for a better tactile finish. The four pairings below are common trade-offs in packaging projects; the figures are experience ranges, and the specific values should still follow the printer's die layout and the folder-gluer's process card.
- Lamination + automatic folder gluing: uniform appearance, low per-unit cost, and short lead time; the glue flap needs a lamination-free zone or mechanical roughening, and if this is not communicated before the die is cut, the rework cost is highest. Suitable for product boxes with larger runs and regular box styles.
- No lamination + automatic folder gluing: bonding is relatively stable, and both natural white board and natural kraft paper work; the cost is weaker surface abrasion resistance and water resistance, with scratches more likely during transport and stacking.
- Lamination + manual gluing: common for irregular boxes, rigid box shells, and small batches, often using double-sided tape or hot-melt adhesive; per-unit cost is calculated by labor hours and is usually clearly higher than automatic folder gluing, so lead time needs allowance for manual scheduling.
- Corrugated boxes: the typical experience range for the glue flap is 20–30 mm, with greater dependence on adhesive amount and compression time; directly copying folding-carton values is often insufficient.
The decision rule can be very plain: before cutting the die, ask the folder-gluer three things—which adhesive this box style uses, how wide the glue flap should be, and whether the glue flap needs to be lamination-free. Write these three figures into the flat layout before placing the side graphics and brand colors, and there will be far fewer chances of revision later.
Which boxes this judgment applies to, and which do not need layout changes for it
The scope is clear: it applies to any paper packaging that relies on one glue edge to join the blank into a tube and requires batch folder-gluing, such as folding cartons, corrugated boxes, rigid box shells, and gift box outer sleeves. The larger the run, the more visible the loss from improper glue-flap handling; for production runs it is especially worth spending an extra half hour checking before the die is cut.
Conversely, the cases where it should not be applied are equally clear: single-piece proofs, hand-folded sample boxes, and gift box liners that are completely invisible from the inside; some food cartons that are formed without glue using lock-bottom or tuck-end structures; and printed products that do not rely on a glue flap for forming, such as stickers, paper bags, books, and brochures. For these, simply leave structural allowance according to the printer's die layout; changing the layout specifically for the glue flap would be a waste.
Frequently asked questions
How wide is the glue flap on a packaging box usually?
The typical experience range for folding cartons is 10–15 mm, small boxes can use 8–12 mm, and corrugated boxes are often 20–30 mm; the final value should follow the folder-gluer's process card and the box structure.
Can the glue-flap edge be printed with brand colors or carry a barcode?
Not recommended. The glue flap overlaps the opposite end; after printing dark solids or barcodes, the overlap is prone to show-through and scuffing, so leaving it as a blank band is more reliable by convention.
If the whole box blank is already laminated, can it still be glued securely?
In most cases yes, but it usually requires switching to double-sided tape or hot-melt adhesive, or adding mechanical roughening at the glue flap; water-based adhesive applied directly to the film surface generally does not provide enough adhesion.
Are the glue-flap line and the bleed line the same thing?
No. The bleed line is outside the finished size and leaves allowance for trimming; the glue-flap line is on the inside of the box blank and governs forming. They differ in position and function and should be marked separately on the flat layout.
Before sending the die layout, confirm with the folder-gluer the three figures—glue-flap width, adhesive type, and whether the glue flap needs to be lamination-free—and mark them in the flat layout before placing side graphics. If the run is not large, first hand-glue 5–10 sample boxes and leave them for one or two days to test the bond; this is closer to real results than looking only at proofs. In packaging projects, we usually put this step before cutting the die, which can save a round of layout revision and rework. The above judgment applies to paper packaging that requires folder-gluing; glue-free lock-bottom boxes and purely flat printed products do not need it.
-
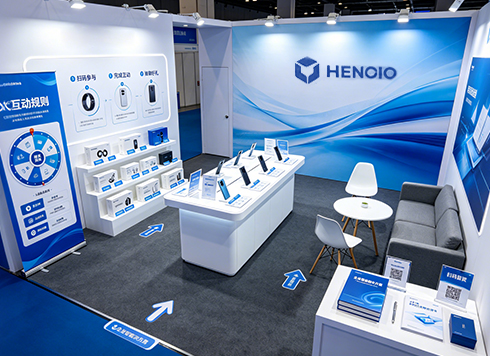
 Booth Poster Design for Professional Monitor Product Suppliers
The standard exhibition booth poster projec ...
-
 Design of Standard Exhibition Booth Posters for Beauty Instruments
Carefully designed a standard exhibition bo ...
-
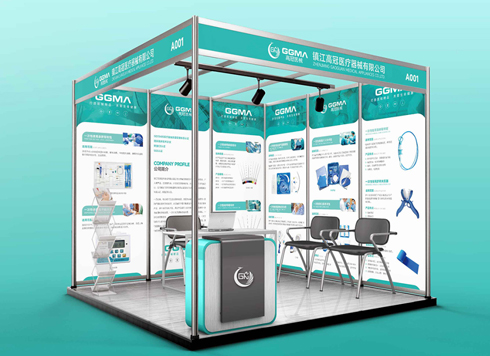 Design of Exhibition Posters for Medical Device Standards
XiYue is designing an exhibition booth post ...
-
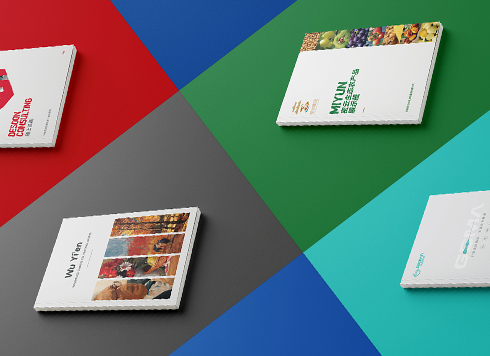 Collection of Brochure Design Cases in 2024 (Cover Series 02)
Our brochure design projects focus on diver ...
-
When a sample is shipped to another city and the client only signs back “OK,” who is to blame if mass production shifts color? Were the reference and tolerance missing from the approval form from the start?
Date: Nov 22, 2026 Read: 1
-
When text at both ends of a banner is pinched by rope, is moving the text inward enough—and should hole positions and hanging method be marked together?
Date: Nov 21, 2026 Read: 4
-
When the company name on a booth fascia can’t be read across the aisle, can checking letter height and stroke weight against the far viewing distance before artwork start save a reprint?
Date: Nov 20, 2026 Read: 10
-
The address along the bottom of a roll-up banner keeps getting covered by the base—can leaving a keep-out zone from the supplier die line before artwork save a site rework?
Date: Nov 19, 2026 Read: 13
-
The booth spotlight hits the center of the display panel, and customers at the meeting table say it is a washed-out white blur—is it material glare or a light mounted too low?
Date: Nov 18, 2026 Read: 18