



Why does the spine title on a perfect-bound brochure press against the cover edge again after a few color inserts are added?
Conclusion: When the book title on the spine of a perfect-bound brochure presses against the cover edge, it is usually not a layout slip but a failure to recalculate spine width after changes in total page count, paper weight, or cover material. The reliable order is to first fix the total page count and paper parameters, then calculate spine thickness, and only then decide what to place on the spine and how large the text should be; spine thickness is typically 5%–15% thinner than the theoretical value obtained by simply multiplying the thickness of a single sheet by the number of sheets (experience range).
That narrow spine face: its width is actually the sum of several layers of thickness
The spine is the narrow face where the cover folds inward along the finished fold line. Its width is determined by the total thickness of the inner pages, and it serves three functions at once: carrying the printed title, connecting the front and back covers, and helping the brochure stand upright on a shelf. It is more of a structural dimension than merely a visual one: thickness comes first, and only then can you discuss what to place on the spine and how large it should be.
Thickness is not determined by page count alone. Papers of the same weight but different brands can differ noticeably in bulk; lamination, cover board weight, glue layer thickness, and whether the binding is Smyth-sewn all add to the final width. According to common project delivery practice in 2026, when calculating the spine, use the single-sheet thickness from the paper specification table and then apply a compression allowance; this is more reliable than estimating by feel.
- Inner page count and single-sheet thickness: Divide the page count by 2 to get the number of sheets, then multiply by single-sheet thickness; this is the starting point of the calculation.
- Paper bulk and brand differences: Switching brands at the same weight often changes spine width at the millimeter level.
- Cover paper or board weight: The cover itself also contributes thickness; hardcover also requires counting the board.
- Glue layer and Smyth sewing: Smyth-sewn perfect binding usually has a slightly thicker spine than pure perfect binding.
- Lamination and degree of pressing: How firmly the product is pressed after printing affects the final thickness of the finished spine.
Why spine text goes wrong first when page count changes or paper is switched
A common situation in projects: the cover has already been finalized and the spine text has been laid out, then the client adds a few color inserts midway or switches the inner pages to another paper. As soon as the page count changes, spine thickness changes, and the fold line position changes too. A title that was originally centered shifts to one side and presses against the cover edge or the back-cover fold line.
Once, with only two days left in the delivery cycle, the client added 8 color pages on short notice and also changed the brand of the inner-page paper; the constraint was that the budget could not cover another round of cover proofs. Our approach was to recalculate spine width based on the new page count, re-layout all spine text, and ask the printer to first produce a blank proof to verify the fold line position; during recalculation we left a compression allowance based on the experience range instead of filling the full theoretical value. The cost was one more cover version and about half a day of extra time, but it avoided rework from a whole batch of misaligned spines. If we had only shifted the text without recalculating, the pressing problem would still easily recur when the page count change was significant.
The cost of a spine problem is asymmetric. Changing a file usually takes tens of minutes; if the problem is found after printing, the cost is reprinting the entire batch of covers plus a delayed delivery. The comparison can be checked in the following two groups:
- Recalculate and produce a blank proof before cover layout starts: File adjustment plus blank-proof confirmation usually takes about half a day to one day (typical range); the cost is one additional cover proof version.
- Only shift spine text without recalculation: Changing the file takes about tens of minutes, but when the page count change is relatively large, the risk of pressing against the edge is high; rework commonly requires another round of cover proofs and 2–5 working days of scheduling, depending on the printer's schedule.
Which numbers to verify first for spine width, and where problems arise if the order is wrong
Treating the spine as a calculation problem that needs verification is less error-prone than treating it as a layout detail. The following order is arranged by fixing structure first and content second.
- Verify page count: Confirm whether the total page count includes the front and back covers, title page, and inserts. Perfect binding commonly increments by 2 or 4 pages; if the page count is not fixed, do not proceed with the calculation.
- Verify thickness: Multiply the single-sheet thickness from the paper specification table by the number of sheets, apply a 5%–15% compression allowance, and then add about 0.5–1.5 mm for the cover and glue layer (experience range).
- Verify the cover fold line: Step inward from the finished cover size to determine the spine fold line position; start spine text at 1.5–3 mm inward from each fold line (experience range).
- Leave a safety zone: Leave a margin on both sides of the spine where no text is pressed, and keep a clear hierarchy difference between the title and subtitle.
Steps 3 and 4 are high-risk areas for rework: some people calculate thickness correctly but place text directly on the fold line; others leave a margin but do not mark the spine width in the delivery file, so the printer folds according to their own experience and the result is still off. A proper approach is to make sure that after the printer receives the file, they can directly read three numbers: spine width, fold line position, and text safety zone.
How much do binding methods differ in spine stability and page-change cost?
For a brochure of about a hundred pages, different binding methods leave different tolerances for the spine. Before choosing a binding, think clearly: does the spine need printed text, and will the page count still change during the project cycle?
- Saddle stitching: No spine; page count changes mainly affect the gutter and creep, suitable for thin booklets with fewer pages, and usually does not involve spine issues.
- Perfect binding: Has a spine; page count changes directly change spine width, making it a high-risk binding method for spine rework.
- Smyth-sewn perfect binding: Opens flatter; spine thickness is usually slightly greater than pure perfect binding at the same page count, suitable for brochures with more pages.
- Hardcover (square back or rounded back): The spine is supported by board, so thickness no longer changes linearly with page count, but the board and book block must be verified separately; a rounded spine also requires calculating arc length separately.
In comparison, the judgment criterion can be simplified to one sentence: if the spine needs printed text, first obtain a fixed page count and paper; for projects where the page count may still change, it is better to leave a little more margin on the spine than to fill it to the theoretical value.
A few common pitfalls on the spine
Most spine problems cluster in a few fixed locations; avoiding them in advance is cheaper than fixing them afterward. The following counterexamples appear repeatedly at delivery sites, and each corresponds to a checkable criterion.
- Title spanning the spine and cover: Fold line errors will cut directly through the text; unless confirmed with a blank proof, this layout is not recommended.
- Spine text too crowded: When top and bottom whitespace is less than 10 mm, the finished product looks cramped; leaving a clearly visible blank area at both ends of the spine is more reliable.
- Placing a QR code or small icon on the spine: There is insufficient margin in the width direction, and it often cannot be scanned after printing—a typical misuse of position.
- Thin reverse type on a dark spine: Edges tend to blur after trapping and lamination; the font weight should be one level heavier than the body text on the cover.
- Sending only a PDF without marking spine width: The printer folds by experience, and when deviation occurs, no one can claim responsibility.
There is another often overlooked detail: on screen, the spine is just a narrow strip, but when folded it is one of the first places readers see when they pick up the brochure. Is it worth checking one more time? Usually yes.
Applicable scenarios and boundaries
Spine verification is suitable for these situations: page counts of several dozen pages or more, titles or brand names to be printed on the spine, possible changes in page count or paper during the project cycle, and brochures and manuals that need to stand upright on the spine. According to 2026 project delivery practice, for such materials the spine width should be written into the delivery notes before cover layout begins.
The situations where this process is unnecessary are also clear: thin booklets with very few pages, saddle-stitched materials, and brochures with blank spines and no printed text do not need it no matter how carefully you calculate. Conversely, for hardcover books, rounded spines, and projects requiring foil stamping or embossing on the spine, the structure needs to be aligned with the printer earlier; you cannot wait until the cover is finalized to think of the spine—by then you are not changing a narrow face but the entire cover.
Frequently asked questions
Can spine thickness be calculated directly from page count?
It can be used as a starting point, but you need to use the single-sheet thickness from the paper specification table and leave a 5%–15% compression allowance; differences in bulk among paper brands of the same weight can make the result deviate at the millimeter level.
If only a few pages are added, is it enough to just shift the spine text?
Once the page count changes, thickness and fold line position change; merely shifting the text may still press against the edge. A more reliable approach is to recalculate spine width and ask the printer to produce a blank proof to verify the fold line.
How much margin should be left on both sides of the spine text?
Start spine text at 1.5–3 mm inward from each fold line (experience range), leave a little more whitespace at the top and bottom, and use a font weight one level heavier than the cover body text so it is easier to read on the finished product.
Are the spine calculations the same for hardcover and perfect binding?
Not exactly. Perfect binding mostly adds cover and glue layer to inner-page thickness; hardcover is supported by board and requires separate verification of the board and book block; a rounded spine also requires calculating arc length.
How much will the spine differ with lamination or a change of paper brand?
The difference is often from a fraction of a millimeter to the millimeter level, but for spine text pressing against the edge and fold line position it is enough to trigger rework; by experience, it still needs to be included.
If text is to be printed on the spine of a brochure, a more reliable approach is to fix three things before cover layout begins—total page count, paper parameters, and cover material—then calculate spine width once and write it into the delivery notes. For projects where the page count may still change, or where foil stamping or embossing will be done on the spine, it is advisable to align the structure with the printer in advance. In brochure projects, Xiyue Company usually completes this step before cover design to avoid having to go back and change the spine after finalization.
-
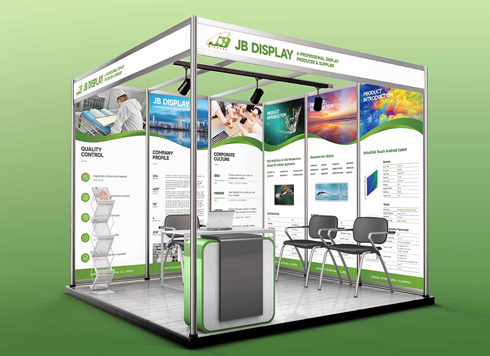 Booth Poster Design for Professional Monitor Product Suppliers
The standard exhibition booth poster projec ...
-
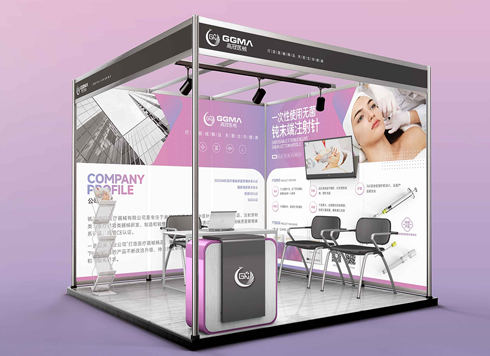 Design of Standard Exhibition Booth Posters for Beauty Instruments
Carefully designed a standard exhibition bo ...
-
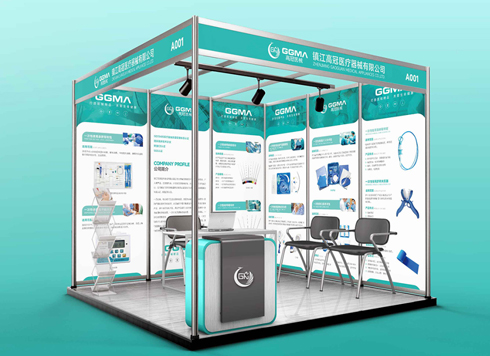 Design of Exhibition Posters for Medical Device Standards
XiYue is designing an exhibition booth post ...
-
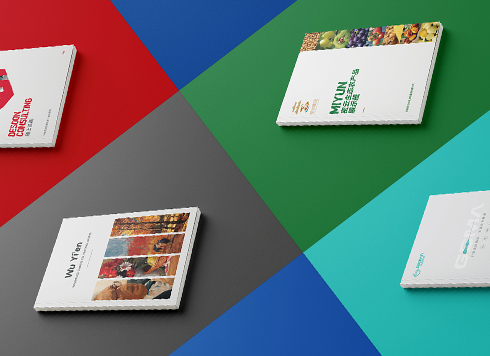 Collection of Brochure Design Cases in 2024 (Cover Series 02)
Our brochure design projects focus on diver ...
-
When a sample is shipped to another city and the client only signs back “OK,” who is to blame if mass production shifts color? Were the reference and tolerance missing from the approval form from the start?
Date: Nov 22, 2026 Read: 1
-
When text at both ends of a banner is pinched by rope, is moving the text inward enough—and should hole positions and hanging method be marked together?
Date: Nov 21, 2026 Read: 4
-
When the company name on a booth fascia can’t be read across the aisle, can checking letter height and stroke weight against the far viewing distance before artwork start save a reprint?
Date: Nov 20, 2026 Read: 10
-
The address along the bottom of a roll-up banner keeps getting covered by the base—can leaving a keep-out zone from the supplier die line before artwork save a site rework?
Date: Nov 19, 2026 Read: 13
-
The booth spotlight hits the center of the display panel, and customers at the meeting table say it is a washed-out white blur—is it material glare or a light mounted too low?
Date: Nov 18, 2026 Read: 18